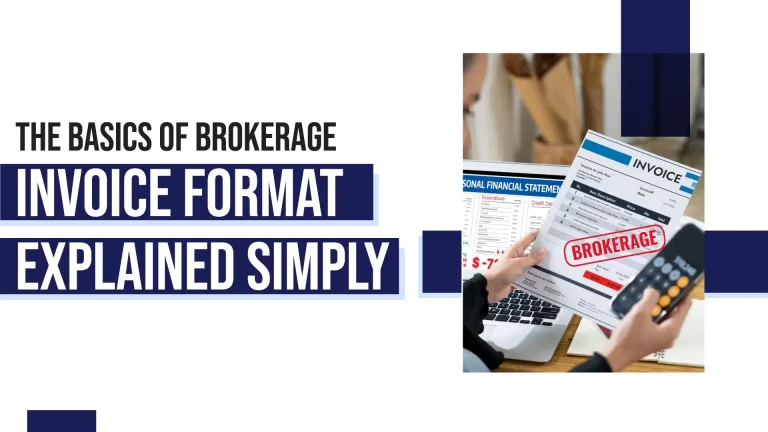
Understanding the brokerage invoice format is crucial for anyone involved in real estate or stock market transactions. A brokerage invoice is a detailed bill provided by a broker, listing the services rendered and the corresponding fees. This document ensures transparency and helps maintain clear financial records. In this comprehensive guide, we will delve into the basics of the brokerage invoice format, its components, and why it is essential. We’ll use simple, conversational language to make the information accessible and easy to understand.
A brokerage invoice is a formal document issued by a broker to a client. It outlines the services provided by the broker, such as buying or selling securities, real estate transactions, or other financial services. The invoice includes a detailed breakdown of the fees associated with these services. This document serves as an official record of the transaction and is crucial for both the broker and the client to keep track of financial dealings.
A brokerage invoice is important for several reasons. It provides a clear and detailed record of the services provided by the broker and the associated fees. This transparency helps build trust between the broker and the client. Additionally, it ensures that both parties have an accurate record of the transaction, which is essential for financial planning and record-keeping. A well-documented invoice can also prevent disputes and misunderstandings about the services rendered and the fees charged.
A brokerage invoice typically includes several key components. Each of these elements plays a vital role in ensuring that the invoice is clear and comprehensive. Let’s take a closer look at each of these components:
1. Header Information
The header section of a brokerage invoice includes basic information such as the broker’s name, address, contact details, and the invoice number. This section may also include the client’s name and contact information. The header helps identify the parties involved in the transaction and provides reference information for future correspondence.
The broker’s details include the name of the brokerage firm or individual broker, their address, and contact information such as phone number and email address. This information is essential for the client to know who issued the invoice and how to contact them if needed.
The client’s details include the name, address, and contact information of the client receiving the invoice. This ensures that the invoice is directed to the correct person or entity.
The invoice number is a unique identifier assigned to each invoice. It helps in tracking and referencing the invoice in future communications or for record-keeping purposes.
2. Invoice Date and Due Date
The invoice date is the date when the invoice is issued. The due date indicates when the payment is expected. These dates are essential for tracking the timeline of the transaction and ensuring timely payments.
The invoice date is the specific date when the invoice is created and sent to the client. This date is important for both the broker and the client to keep track of when the transaction occurred.
The due date is the deadline by which the client needs to make the payment. This date helps ensure that payments are made on time and that there are no delays in settling the transaction.
3. Description of Services
This section provides a detailed description of the services rendered by the broker. It includes information such as the type of transaction (e.g., buying or selling securities), the quantity of assets involved, and any specific details relevant to the service. A clear and detailed description helps the client understand the charges and the services they are paying for.
The service details should be as specific as possible. For example, if the broker facilitated the purchase of stocks, the description should include the number of shares, the company’s name, and the date of the transaction. This clarity helps the client understand exactly what they are being charged for.
If there are any additional services or special considerations, they should also be included in this section. This might include advisory services, research fees, or other related services that were provided during the transaction.
4. Fee Breakdown
The fee breakdown is a critical part of the brokerage invoice. It itemizes the costs associated with each service provided. This section may include various fees such as brokerage fees, commission fees, transaction fees, and any other applicable charges. A transparent fee breakdown helps prevent misunderstandings and disputes regarding the cost of services.
Each service listed in the description should have a corresponding fee. This itemized list ensures that the client can see exactly what they are paying for and how much each service costs.
The total fees section summarizes the individual costs to provide a final amount due. This helps the client understand the overall cost of the services provided.
5. Total Amount Due
The total amount due is the sum of all the fees listed in the fee breakdown. This section clearly states the total amount that the client needs to pay. Including the total amount due ensures that the client is aware of the full cost of the transaction.
The total amount due is calculated by adding up all the itemized fees. This total should be clearly highlighted to make it easy for the client to see the final amount they owe.
6. Payment Instructions
Payment instructions provide the client with details on how to make the payment. This section may include the broker’s bank account information, payment methods accepted (e.g., bank transfer, check, credit card), and any specific instructions related to the payment process. Clear payment instructions help facilitate timely and accurate payments.
List all the acceptable payment methods, such as bank transfers, checks, or credit cards. This gives the client options for how they can make the payment.
If the payment is to be made via bank transfer, include the broker’s bank account details, such as the account number, bank name, and any other necessary information.
7. Terms and Conditions
The terms and conditions section outlines any specific terms related to the payment and the services provided. This may include information about late payment penalties, refund policies, and any other relevant terms. Including terms and conditions helps ensure that both parties understand their obligations and rights.
Clearly state any penalties that will be applied if the payment is not made by the due date. This helps ensure that the client is aware of the consequences of late payment.
If applicable, include information about the broker’s refund policy. This is important in case the client is not satisfied with the services provided and seeks a refund.
8. Signature Section
Some brokerage invoices include a signature section where both the broker and the client can sign to acknowledge the transaction. While not always required, this section can serve as an additional layer of verification and agreement between the parties.
The broker’s signature confirms that the invoice has been reviewed and approved by the broker or their representative.
The client’s signature acknowledges receipt of the invoice and agreement to the terms and conditions outlined.
Creating a brokerage invoice involves several steps. Here is a simple guide to help you create a comprehensive and professional brokerage invoice:
Step 1: Gather Necessary Information
Before creating the invoice, gather all the necessary information, including the broker’s details, client’s details, description of services, and fee breakdown. Having all the information at hand will make the process smoother and ensure that the invoice is accurate and complete.
Step 2: Use a Template
Using a template can help streamline the process of creating a brokerage invoice. There are many templates available online that can be customized to suit your needs. A template ensures that all the necessary components are included and provides a professional format for the invoice.
Step 3: Fill in the Details
Fill in the details gathered in Step 1 into the template. Ensure that all the information is accurate and complete. Double-check the details to prevent any errors or omissions.
Step 4: Review and Finalize
Review the invoice carefully to ensure that all the details are correct. Check for any errors or discrepancies and make any necessary corrections. Once you are satisfied with the invoice, finalize it by saving it in a suitable format (e.g., PDF) for distribution.
Step 5: Send the Invoice
Send the finalized invoice to the client. Ensure that the invoice is sent in a timely manner to allow the client sufficient time to review and make the payment by the due date.